Creating Publish User Profiles
The Facebook and Twitter endpoints require individual authorization before you can use them. Authorizations are created on a per-user basis. If your MediaCentral Cloud UX system has been configured for both applications, but your role only requires you to publish to Twitter, you can choose to authorize the Twitter application only. This means that if “User A” authorizes the Facebook application, Facebook does not appear for “User B” until that user completes the authorization process.
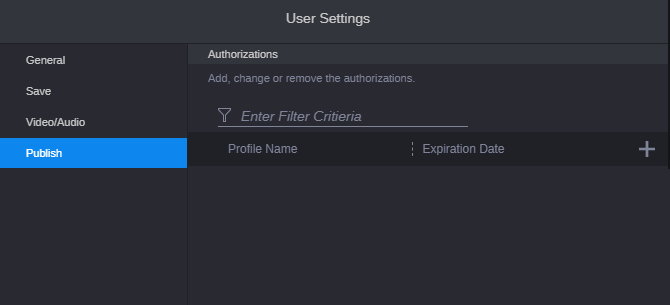
As shown in the following illustration, when you click on the User Settings for the first time, the Authorizations window appears blank.

Only licensed endpoints appear in the Publish User Settings. If you are using the Playback endpoint only, you are not required to configure any Authorizations.
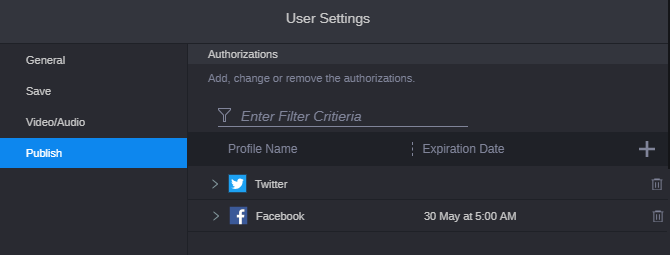
After you create a new profile, it appears in the list of Authorizations. You can delete any profile from the list by clicking the trash button to the right of its name, as shown in the following illustration. If you confirm the deletion, the profile is deauthorized for the current user only.
After you successfully authorize a profile, an Expiration Date value might appear in the profile. Some endpoints require that you renew your application after a period of time. The Expiration Date listed in the Publish profile indicates when you must reauthorize your connection.
Editing Profiles
If you have already created a profile and want to make a change to the configuration settings, you can alter and save the profile at any time. If you need to undo your changes before saving the profile, you can click the Revert button that appears to the right to return the profile to its original state.
Filtering Profiles
The Publish area of the User Settings includes an option to filter the list of Authorizations. If you have authorized a number of applications, the Filter field makes it easy to quickly find information included in each of the profiles. You can create a filter based on the profile name as well as many of the configuration fields included in the profiles.
To use the Filter:
1. Enter three or more characters in the Filter field to locate your desired data.
If found, your filter text is highlighted in the list of Authorization profiles.
2. After you have filtered the list, you can clear the filter by either deleting the text or clicking the X button to the right of the filter.
Deleting Profiles

If you create a profile and later need to remove it, you can click the Delete button to the right of the profile to delete it. The system prompts you to confirm the delete request. After you click Yes, the profile is deleted.
Proceed to one or more of the following sections to configure your Publish profiles: