Publishing to Endpoints
When you open the Publish app for the very first time, the Send To area is populated with all available endpoints. In subsequent user sessions on the same workstation, the Publish app displays only the endpoints that were open when you last signed out of MediaCentral Cloud UX. If you sign out and sign back in to MediaCentral Cloud UX on another workstation, the list of endpoints might be different.
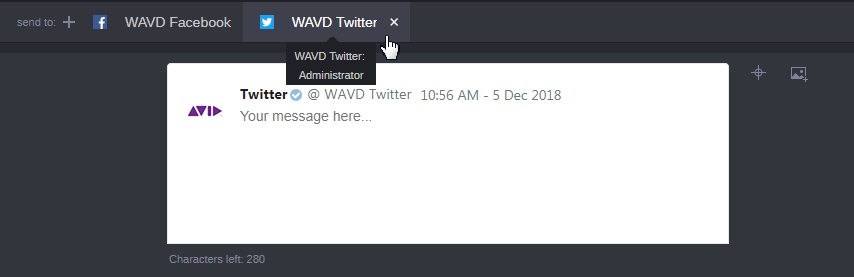
If you place your cursor over any of the tabs, the app displays a tool-tip that provides additional information — such as the full name of the endpoint and the user that created the profile.
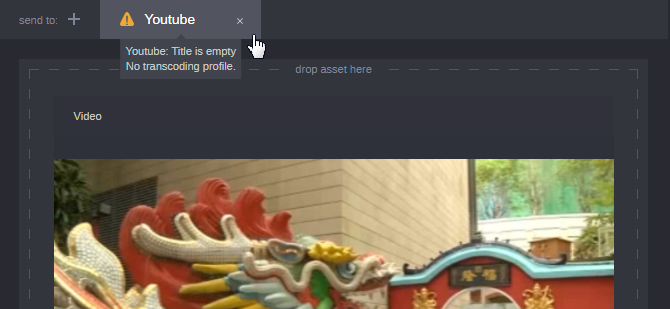
After you add content directly to a Publish endpoint or through the General pane, you might notice that one or more tabs appear with a yellow warning symbol as illustrated below.
The warning indicates that some required fields are empty or contain invalid data. For example, you might be warned about a Twitter endpoint if there are too many characters in the message field. If you attempt to publish without resolving the issue, the Publish job cannot be completed for the associated endpoint.
Adding or Removing Endpoints
As stated above, the Send To area is automatically populated with all available endpoints when you open the Publish app. You can remove an endpoint from view by clicking on the “x” in any of the tabs.
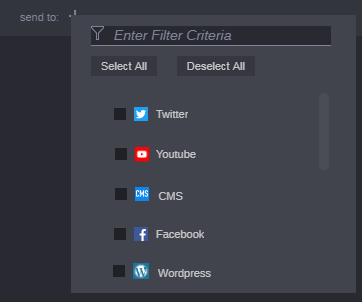
Alternatively, you can use the Send To menu to alter the list of displayed endpoints. As illustrated below, you can click on the Send To menu to Select All, Deselect All, or use check boxes to select (or deselect) individual publishing endpoints.
If you have more profiles than fit in the window, you can use the scroll bar to the right of the menu to reveal additional profiles.
Filtering Endpoints
When you click on the Send To menu, a list of available endpoints appears. If you have a large number of endpoints, you can use the filter option at the top of the menu to quickly locate a specific endpoint or endpoints based on the name of the profile.
To use the Filter:
1. Enter three or more characters in the Filter field to locate your desired data
If found, your filter text is highlighted in the list of Authorization profiles.
2. After you have filtered the list, you can clear the filter by either deleting the text or clicking the X button to the right of the filter.
Adding or Removing Media Assets
You can add audio / video assets to the Publish app by completing any of the following actions:
• Drag an asset from a docked app, such as Browse or Search, to a Publish endpoint or to the General area of the Publish app.
• Drag an asset from the Asset Editor to a Publish endpoint or to the General area of the Publish app.
• Drag an asset from another app such as Browse or Search to the Publish app icon in the Fast Bar, hover for a moment as the Publish app comes to the foreground, and then drop the asset to a Publish endpoint or to the General area of the Publish app.
You can add a graphic image to endpoints that support image files by completing either of the following actions:
• 
Click the Grab Image button to load the current image displayed in the Asset Editor.
• 
Click the Upload Image button to browse to an image on your client workstation. Select a file and click Open to add the image to the endpoint.
If you add an image or audio/video asset to a Publish job, you can use the same controls you used to add the asset to also replace the asset. Alternatively, you can remove the asset by placing your mouse over the graphic and clicking the “x” that appears in the upper-right corner of the representative video frame.
The following table describes the possible publish options for each endpoint.
| Brightcove | Facebook | Generic CMS | Twitter | Wordpress | YouTube |
Message only | NO | YES | YES | YES | YES | NO |
Image only | NO | YES | YES | YES | YES | NO |
Audio only | NO | NO | NO | NO | NO | NO |
Video only | YES | YES | YES | YES | YES | YES |
Audio/Video | YES | YES | YES | YES | YES | YES |
Image plus Audio/Video | NO | NO | YES | NO | YES | NO |
• Message only: Only a message is added to the endpoint (no Image, or Audio/Video assets). Probably most common in Twitter posts.
• Image only: Only an image is added to the endpoint (no message, or Audio/Video assets).
• Audio only: Only a standard audio asset (MP3, WAV) that does not include a video track is added to the endpoint.
• Video only: A video asset that does not include any audio tracks is added to the endpoint.
• Audio/Video: An asset that includes both audio and video is added to the endpoint.
• Image plus Audio/Video: Both a static image and an asset that includes both audio and video is added to the endpoint.

If you attempt to add an unsupported media asset to either the General area of the Publish app or to a Publish endpoint, the system displays a warning message that “This asset type is not supported for publishing.”
Closing the Publish App
You can close the Publish app at any time by clicking the X located at the far-right side of the Publish Header. However, there might be times where you begin to configure endpoints, but fail to click the Publish button to initiate the job. For example you might:
• Close the Publish tab by accident
• Sign out (or are automatically logged out) of MediaCentral Cloud UX
• Experience a crash in your web browser
In these cases, MediaCentral Cloud UX remembers the current status of the Publish app so that you can continue working where you left off. It is important to note that your Publish session information is stored on your local workstation. If you begin creating a Publish job on one workstation and move to another workstation mid-stream, the state of the Publish app is not carried over to the new workstation. This information is saved on a per-user basis. If another user signs into MediaCentral Cloud UX on your workstation, they do not see your Publish session information.
Configuring Your Endpoints
Refer to the following sections for more information on each endpoint:
If you used the General section to add a message, image, or video, some steps in the following processes might have already been completed.